


Panzer Leader: Desert Boards


AIW Desert Boards
By Douglas Swanson
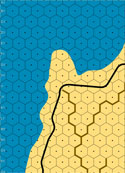
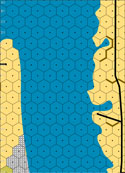
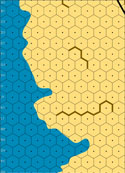
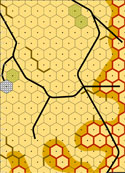
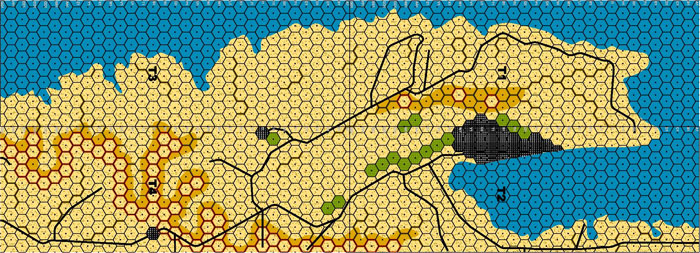
The icons below call up a low-res scan; for downloadable pdfs,
in quarter sections, halves, or full maps, see the bottom of each individual map page.
Each full map is 1 to 1.5 megs.
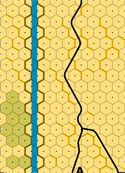
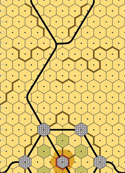
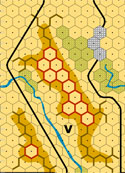
AIW Map A |
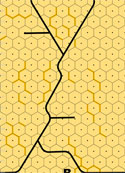
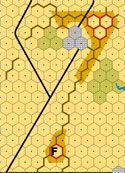
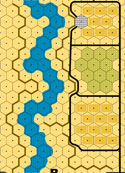
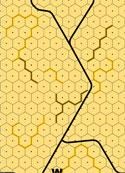
AIW Map B |
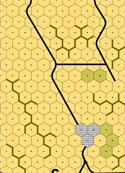
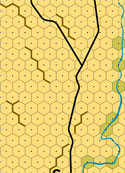
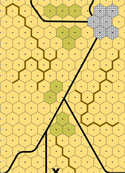
AIW Map C |
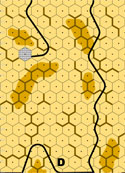
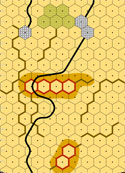
AIW Map D |
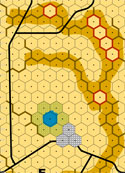
AIW Map E |
AIW Map A' |
AIW Map B' |
AIW Map C' |
AIW Map D' |
AIW Map E' |
AIW Map F |
AIW Map G |
AIW Map H |
AIW Map I |
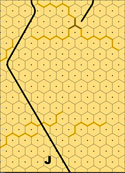
AIW Map J |
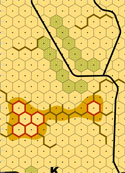
AIW Map K |
AIW Map L |
AIW Map M |
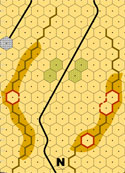
AIW Map N |
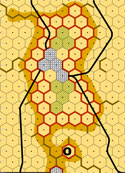
AIW Map O |
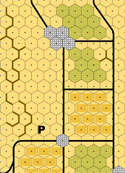
AIW Map P |
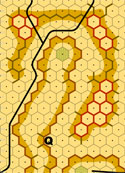
AIW Map Q |
AIW Map R |
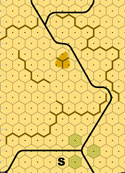
AIW Map S |
AIW Map T |
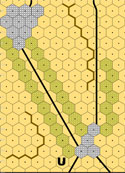
AIW Map U |
AIW Map V |
AIW Map W |
AIW Map X |
AIW Map Y |
AIW Map Z |
Tobruk 1 |
Tobruk 2 |
Tobruk 3 |
Tobruk 4 |


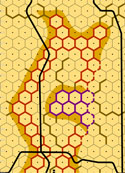

Tobruk, when assembled, looks like this.
|
|
|
 |